What you’ll build
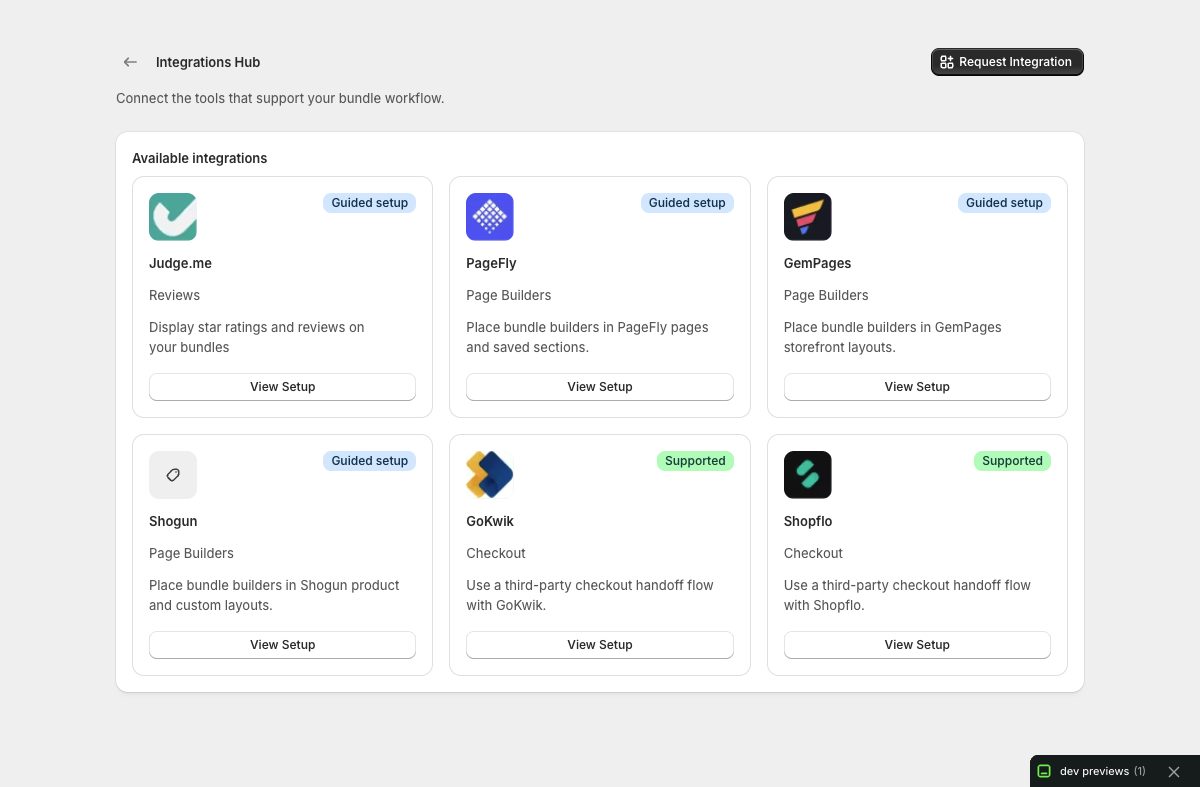
You will place an Only Bundles experience inside a supported PageFly, GemPages, or Shogun layout while keeping Shopify’s theme extension as the canonical runtime owner. The placement element tells Only Bundles where the bundle belongs and which bundle source to use. The app embed loads shared behavior once.
The same architecture avoids duplicate scripts, duplicate widgets, and preview-only integrations that break after the page-builder page is published.
Before you begin
Finish and save the bundle in Only Bundles. Decide whether the page-builder layout should resolve a Product Page Bundle from the current product, use a specific Product Page Bundle, or point to a specific Full Page Bundle. Record the bundle identifier or link shown by the app instead of deriving it from a title.
Confirm the page builder is editing the same Shopify theme that will serve the page. Enable the Only Bundles app embed in that theme and save it. The page-builder element should not load a second copy of the storefront script.
Back up or duplicate the page-builder layout through that product’s supported workflow before changing a live page. Only Bundles can control its block, but the page builder controls the surrounding layout and publication.
1. Choose the canonical placement method
Use the page builder’s Shopify App Block, app element, or supported Only Bundles integration when available. Do not paste minified runtime code, remote script tags, or a copy of the widget markup into an HTML element.
The canonical arrangement is:
- Shopify theme app embed enabled once.
- One placement block or element at each intended location.
- One explicit source policy for the bundle.
- The page builder responsible for the surrounding page only.
This separation makes troubleshooting possible: loading belongs to the embed, placement to the element, bundle configuration to Only Bundles, and commerce to Shopify.
2. Choose a bundle source
Use current product behavior when the page is a true product context and should resolve the Product Page Bundle eligible for that product. Use a specific Product Page Bundle when the designed page must always show one saved product-page offer. Use a specific Full Page Bundle only through the supported option when the builder is intended to host or link that dedicated experience.
Do not leave the source implicit if the page builder duplicates layouts across products. Preview at least two products so a copied page does not accidentally show the original offer.
When the supported fallback exposes the technical data-wpb-page-builder-embed marker, keep that identifier exactly as documented. It is a compatibility contract, not public brand copy and not a reason to hand-code the runtime.
3. Place the element in PageFly
In PageFly, open the intended page or product template. Add the Shopify app or Only Bundles placement element from the element library. Drop it into a full-width or appropriately sized container, then choose the source and bundle in the element settings.
Preview inside PageFly, but do not stop there. Editor canvases can constrain width or defer scripts differently from the published Shopify storefront. Publish through the normal PageFly flow, save the Shopify theme when prompted, and verify the final URL.
PageFly supports one Shopify App Block element per page, and that element can contain multiple Shopify app blocks. If the page already has one, add the Only Bundles placement inside it rather than creating a second Shopify App Block element.
Avoid nesting the bundle inside an element that clips overflow or uses a fixed height. Dialogs, selector menus, summaries, and mobile trays need content-driven space.
4. Place the element in GemPages
Open the GemPages layout tied to the intended product or landing context. Insert the Shopify app block or supported app element, select Only Bundles, and configure its bundle source. Keep one placement per intended experience.
Publish the GemPages page before completing the app-element configuration because Shopify Theme Editor owns the final app-block settings. Then open the page through Theme Editor, add Page Builder bundle to the GemPages app area, choose the source, and save the theme. Check both GemPages preview and the final page. If the editor uses sample product data, switch to the real host product before deciding that current-product resolution works.
If a duplicated GemPages template retains an explicit bundle ID, update it deliberately rather than expecting product context to override a specific source.
5. Place the element in Shogun
In Shogun, open the page or product layout and add the supported Shopify app block or Only Bundles placement component. Configure the intended source and place it in a container that can grow with the complete builder.
Use Shogun’s preview for composition, then publish and test the Shopify storefront URL. Confirm that Shogun’s responsive visibility settings do not hide the element at a breakpoint where the bundle is meant to appear.
Do not use a custom-code element when an app-block path exists. If a Shogun Custom Layout genuinely does not expose Shopify app blocks, use its HTML embed with one supported plain-HTML marker. Shogun HTML elements do not evaluate Shopify Liquid.
For current-product eligibility on a Shopify product page:
<div data-wpb-page-builder-embed data-embed-mode="eligible-product"></div>For a specific Product Page Bundle, use the bundle parent product’s Shopify handle:
<div
  data-wpb-page-builder-embed
  data-embed-mode="product-page-bundle"
  data-parent-product-handle="your-bundle-parent-product-handle"
></div>
For a specific Full Page Bundle, use the store-scoped public number shown by Only Bundles—not an internal database ID:
<div
  data-wpb-page-builder-embed
  data-embed-mode="full-page-bundle"
  data-public-number="123"
></div>
Add only one marker at the intended location. Do not copy JavaScript or CSS URLs into Shogun; the existing app embed loads the Shopify-hosted assets.
6. Verify loading and uniqueness
Open the published page with browser cache bypassed. Confirm the bundle initializes once. One visible builder does not by itself prove one runtime; look for repeated event handling, duplicated messages, or two cart submissions after one action.
If the widget is absent, check the active theme’s app embed first, then the placement element and selected source. If the wrong bundle appears, inspect current-product context versus an explicit bundle choice.
When working with a developer, verify the storefront asset served by Shopify rather than only the local source or built file. Theme extension assets use Shopify’s asset delivery path; the signed app proxy is reserved for supported data/API routes, not as a replacement script host.
7. Test the complete bundle inside the layout
At desktop width, complete every step, change variants and quantities, trigger validation, review the summary, and add a valid result to Shopify cart. Check that surrounding page-builder columns, tabs, sticky regions, and animation wrappers do not cover or clip the bundle.
Resize the actual browser window to about 390 by 844 and reload. Repeat the complete workflow. Page builders often apply their own mobile spacing and visibility rules, so verify the published layout rather than a scaled editor canvas.
Confirm Shopify cart lines, discounts, selling plans, gifts, add-ons, and total exactly as you would for a theme-native placement.
8. Republish safely after changes
When changing the bundle configuration, save and sync through Only Bundles as required. When changing placement or surrounding layout, publish through the page builder. When changing app-embed status, save Shopify Theme Editor. These are separate persistence layers.
After any layer changes, refresh the published page without cache and retest. Do not assume that seeing an updated PageFly, GemPages, or Shogun editor preview means Shopify is serving the same result.
Troubleshooting
The editor shows the bundle but the published page does not. Confirm the page-builder layout was published, the active theme is correct, and the Only Bundles app embed is enabled and saved there.
The wrong bundle appears. Check whether the element uses current-product resolution or a specific bundle ID. Verify the page’s actual Shopify product context.
The bundle appears twice or reacts twice. Remove duplicate placement blocks and custom runtime scripts. Keep one embed responsible for loading.
Dropdowns or dialogs are clipped. Remove fixed-height or overflow-hidden constraints from the surrounding page-builder container and retest all states.
Mobile has no bundle. Review the page builder’s responsive visibility settings, then reload an actually resized mobile browser window.
Integration checklist
The bundle is saved; the correct theme embed is enabled; a supported app element owns placement; the source policy is explicit; editor and published page were both checked; initialization happens once; and desktop/mobile cart results match the configured offer. This keeps the integration durable as the page design and bundle evolve.