
What you’ll build
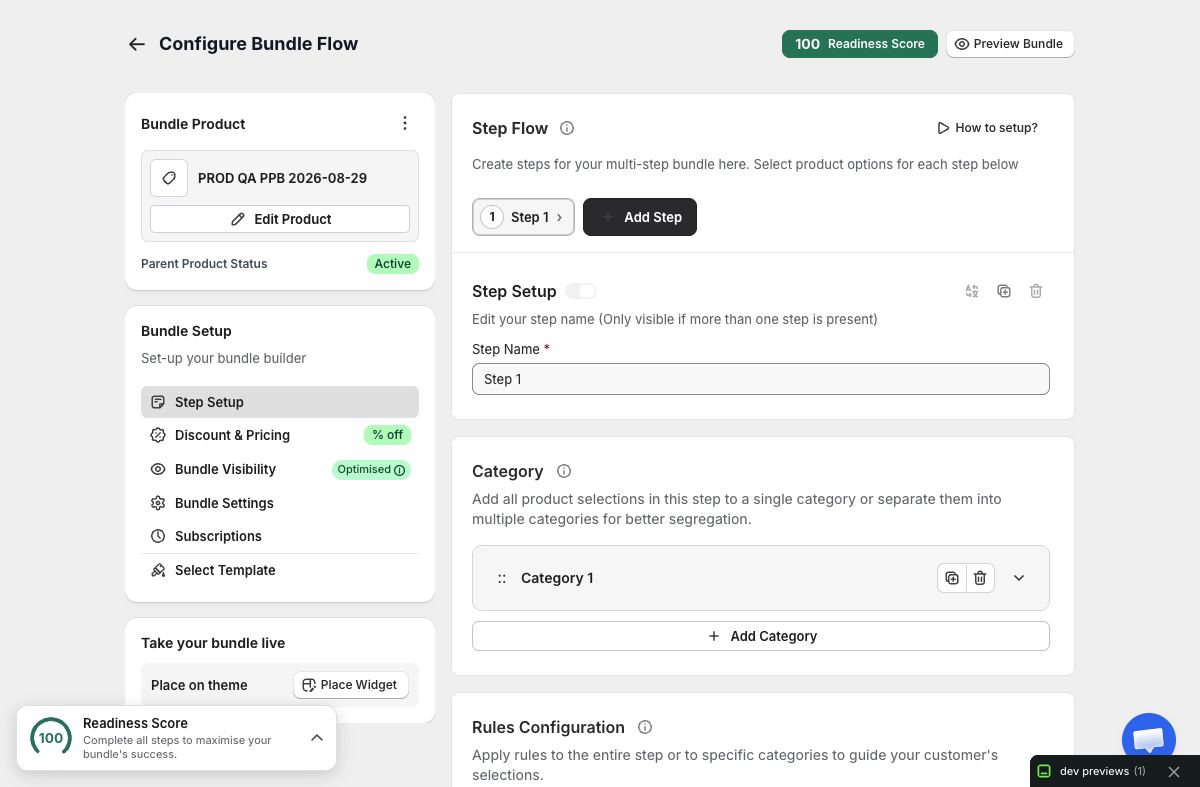
You will configure the gift and add-on experience for one step in a Product Page Bundle. The finished step can have its own storefront name, title, icon, add and replace labels, optional add-on tiers, and messages for the states before and after an add-on rule is met. You will also check translations and verify that the bundle still produces the intended Shopify cart lines and total.
Product Page Bundle controls are separate from the Full Page Bundle gift and add-on workflow. Follow this guide from inside the Product Page editor so that the labels and settings match the surface your customer will actually use.
Before you begin
Create and save the Product Page Bundle, add at least one step, and assign the products or collections customers may select in that step. Confirm that the ordinary bundle can be completed without gifts or add-ons. This known-good baseline makes it much easier to distinguish a merchandising configuration issue from a product, variant, placement, or cart issue.
Prepare the Shopify products and variants that participate in the step. Check their status, availability, price, image, and option labels. Only Bundles changes how the offer is presented; it does not make an unavailable Shopify variant purchasable. Decide which text is customer-facing and prepare translations for every storefront language you support.
1. Open the Product Page gift and add-on settings
Open the Product Page Bundle editor and select Free Gift & Add Ons. If the editor asks you to configure a step first, return to Step Setup, create or select the intended step, and then reopen this section. Gift and add-on settings belong to a specific step, so confirm the active step before changing anything.
The page contains two related controls:
- Add-Ons and Gifting Step controls how the step is introduced and labelled to customers.
- Add-Ons with Bundles controls the optional add-on section, its tiers, and the messages associated with eligibility.
Configure them separately and save after each meaningful change. This produces a clear checkpoint if the preview does not match your intention.
2. Enable and label the gifting step
Enable Add-Ons and Gifting Step. The step presentation fields become available. Complete them in customer language:
- Step name is the short label for the step.
- Step title explains the choice customers are making.
- Add on supplies the action text used when a customer adds an item.
- Replace supplies the action text shown when a selected item can be changed.
Use precise labels such as “Choose your bonus item,” “Add gift,” and “Replace selection.” Do not describe an item as free unless the configured tier and the price treatment shown to the customer actually make it free.
You can upload or replace the step icon. Keep the file below the 50 KB limit shown by the editor. Use a simple image that remains understandable at a small size, and preview it against the surrounding product-page theme rather than judging the source image alone.
3. Translate the step presentation
Choose Multi Language in the gifting-step card when the shop has additional locales. Translate the meaning of each label, not only the individual words. Short action labels should remain unambiguous after translation and should fit comfortably beside the product controls.
If the language action is unavailable, confirm that the additional locale exists and is enabled for the shop. Save the primary-language values before treating a missing translation as a storefront defect.
4. Configure Add-Ons with Bundles
Enable Add-Ons with Bundles and enter an Add-on section title that distinguishes these products from the required bundle selections. A title such as “Complete your bundle” is usually clearer than repeating the step name.
Add a tier with Add Add-Ons Tier. Each tier includes Display products as free (0.00). Enable that option only when the tier is meant to present its eligible products as free. Leave it off for a paid optional item. Add more tiers only when each tier represents a customer-visible distinction you can explain and test. Delete an accidental or obsolete tier instead of leaving an unused tier in the configuration.
Tier presentation does not excuse contradictory storefront copy. If the product is displayed as free, the related message and resulting total must agree. If the product is paid, show enough context for a customer to understand that selecting it changes the total.
5. Write the footer messages
After at least one add-on tier exists, configure Footer Messaging. Write Message when rule not met so that it explains the remaining action without blaming the customer. Then write the Success message so that it confirms eligibility without claiming an item was added before the customer selected it.
Use Show variables to review the supported placeholders before inserting dynamic values. Copy the available variable exactly as the editor presents it; do not invent a token. Preview the message with realistic numbers so that singular, plural, currency, and percentage wording remain natural.
The footer has its own Multi Language action. Translate both the not-met and success states. A translated section title with untranslated eligibility text creates an incomplete experience, so review the step, section, and footer translations together.
6. Save and test every transition
Save the bundle, then open the storefront preview or the product template where its app block is placed. Refresh the storefront before testing so that you are not reviewing an older saved configuration.
Test the journey in order:
- Load the page with nothing selected and confirm the step name, title, icon, and not-met message.
- Make selections below the add-on condition and verify that the success state does not appear early.
- Reach the eligible state and confirm the success message and add-on choices.
- Add, replace, and remove an add-on; check the action labels after every change.
- Fall below the qualifying state again and confirm that the UI and summary update coherently.
- Add the completed bundle to Shopify cart and verify the selected variants, quantities, free or paid treatment, and final total.
Repeat the test in each enabled storefront language and at desktop and mobile widths. The surrounding theme can provide much less horizontal space on a product page than the editor preview.
Troubleshooting
The section says to configure a step first
Return to Step Setup, create or select a step, add its eligible products, save, and reopen Free Gift & Add Ons. These settings cannot be attached without an active step.
Gift-step fields are disabled
Enable Add-Ons and Gifting Step. The icon and customer-facing step fields remain unavailable while that setting is off.
Add-on tiers or footer messages are missing
Confirm that Add-Ons with Bundles is enabled. Add at least one tier to reveal Footer Messaging. If you removed the final tier, add a new one before expecting footer controls to appear.
The language action is unavailable
Check the shop’s configured locales. The editor disables the translation action when there are no additional shop locales to edit.
The storefront still shows older text
Save the configuration, reload the correct product page, and confirm that the bundle app block is placed on that product’s active theme template. Also confirm that you edited the same step being rendered in the bundle.
Cart pricing does not match the message
Recheck whether Display products as free (0.00) is enabled for the active tier. Then test the exact selected variants in Shopify cart. Treat the cart result as the final pricing check; rewrite any message that promises a price treatment the saved configuration does not produce.
Launch checklist
- The intended Product Page Bundle step is active.
- Step name, title, add, replace, and icon presentation are complete.
- Each add-on tier has an intentional free or paid presentation.
- Not-met and success messages describe the real state.
- Step, section, and footer translations are complete.
- Desktop and mobile storefront transitions have been tested.
- Shopify cart contains the expected variants, quantities, and total.
Once every item passes, the Product Page add-on experience is ready to publish and monitor alongside the rest of the bundle.